Conventional crown work flow
I have had some people ask me about my work flow for a simple conventional crown so I would to share with this case.
In this case, tooth #26 was root canal treated a couple years ago and was ready for a cuspal coverage restoration. I elected for a full crown in the case because there was a slightly concerning distal crack line that I wanted to address.

Pre-operative 26 with PA lesion
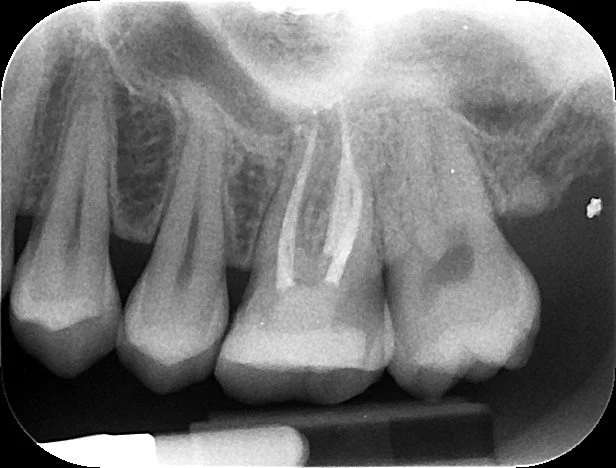
Obturated 26

A very faint crack line was present running across the distal marginal ridge.
For my crown workflow, I tend to do the following:
Use electric red band handpiece. Better control of handpiece torque and less chattering.
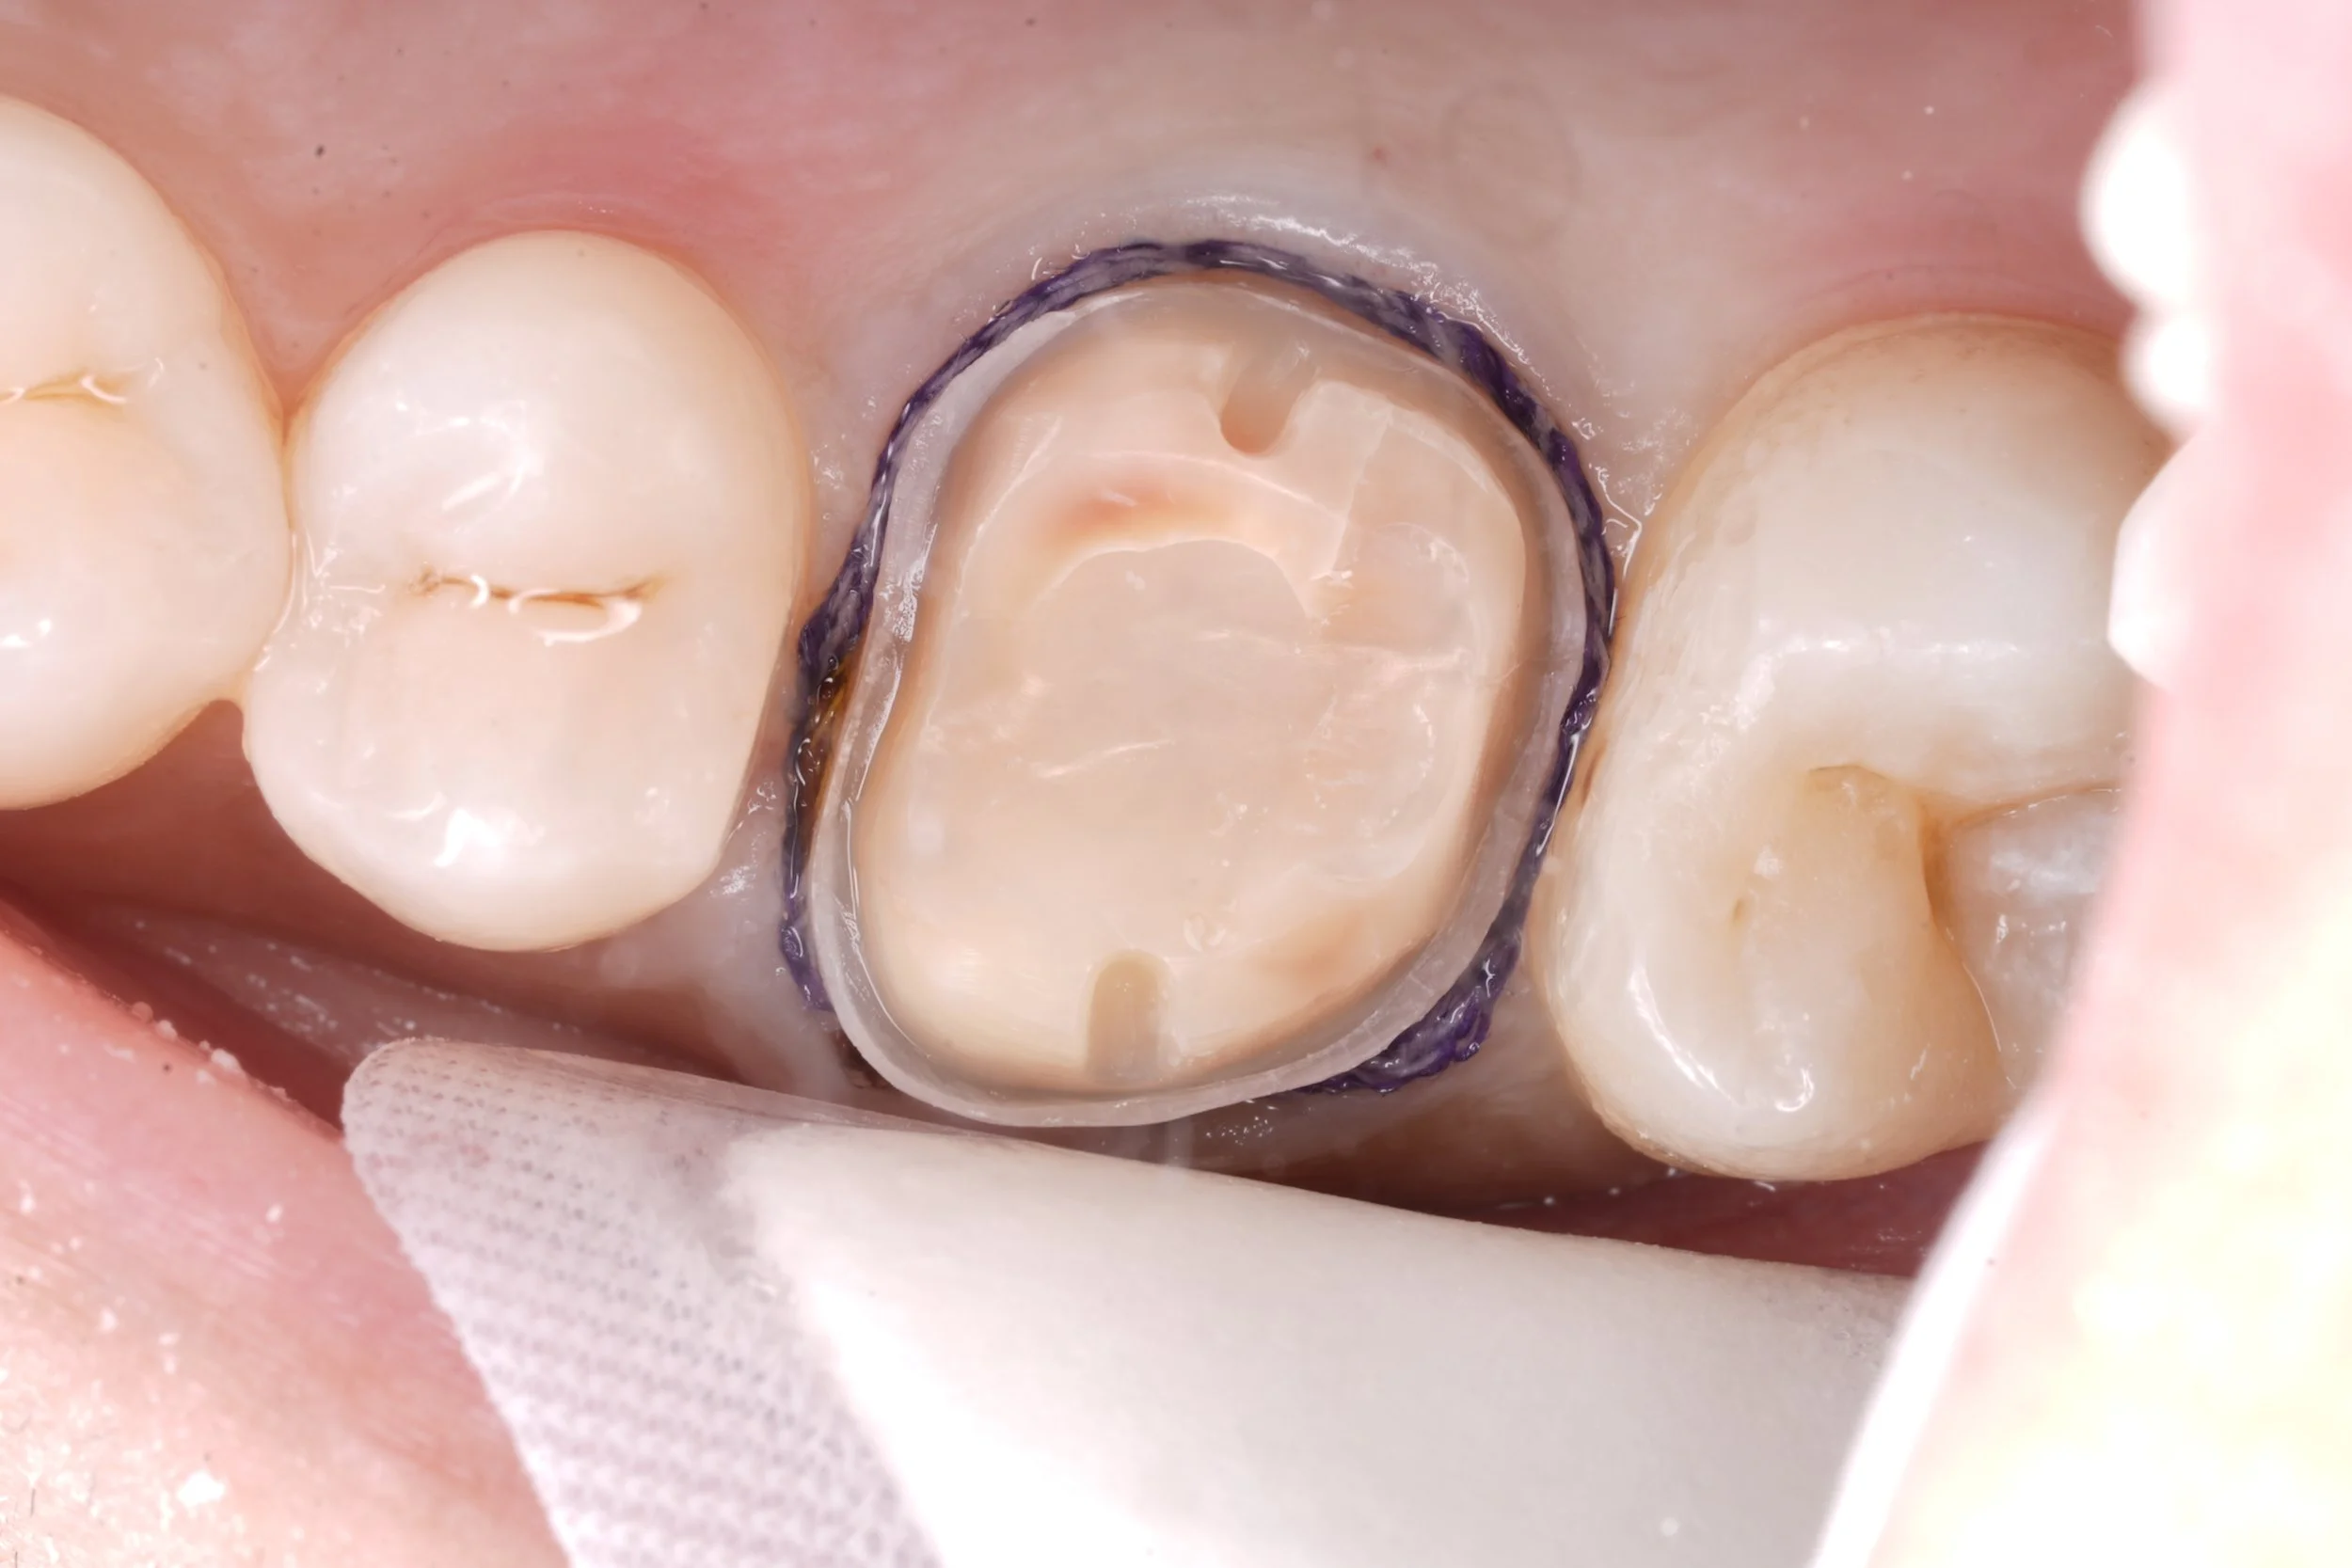
Preparation of retention grooves.
Gross preparation with coarse green tapered bur (95% of prep time)
Refinement of margins with fine red tapered bur (5% of prep time)
Further margin refinement with crown margin trimmers or spoon excavator.
Aim of 3-4mm of crown height, I try to finish around maximum height of contour if other parameters are met.
Double cord retraction, 0 and 00 in hemodent. Thicker 0 chord is removed prior to impression. Give the cord 5 minutes to work.
I usually prep without a rubber dam. I have found this makes it quicker to check for occlusal reduction and there is more room to manoeuvre the handpiece.
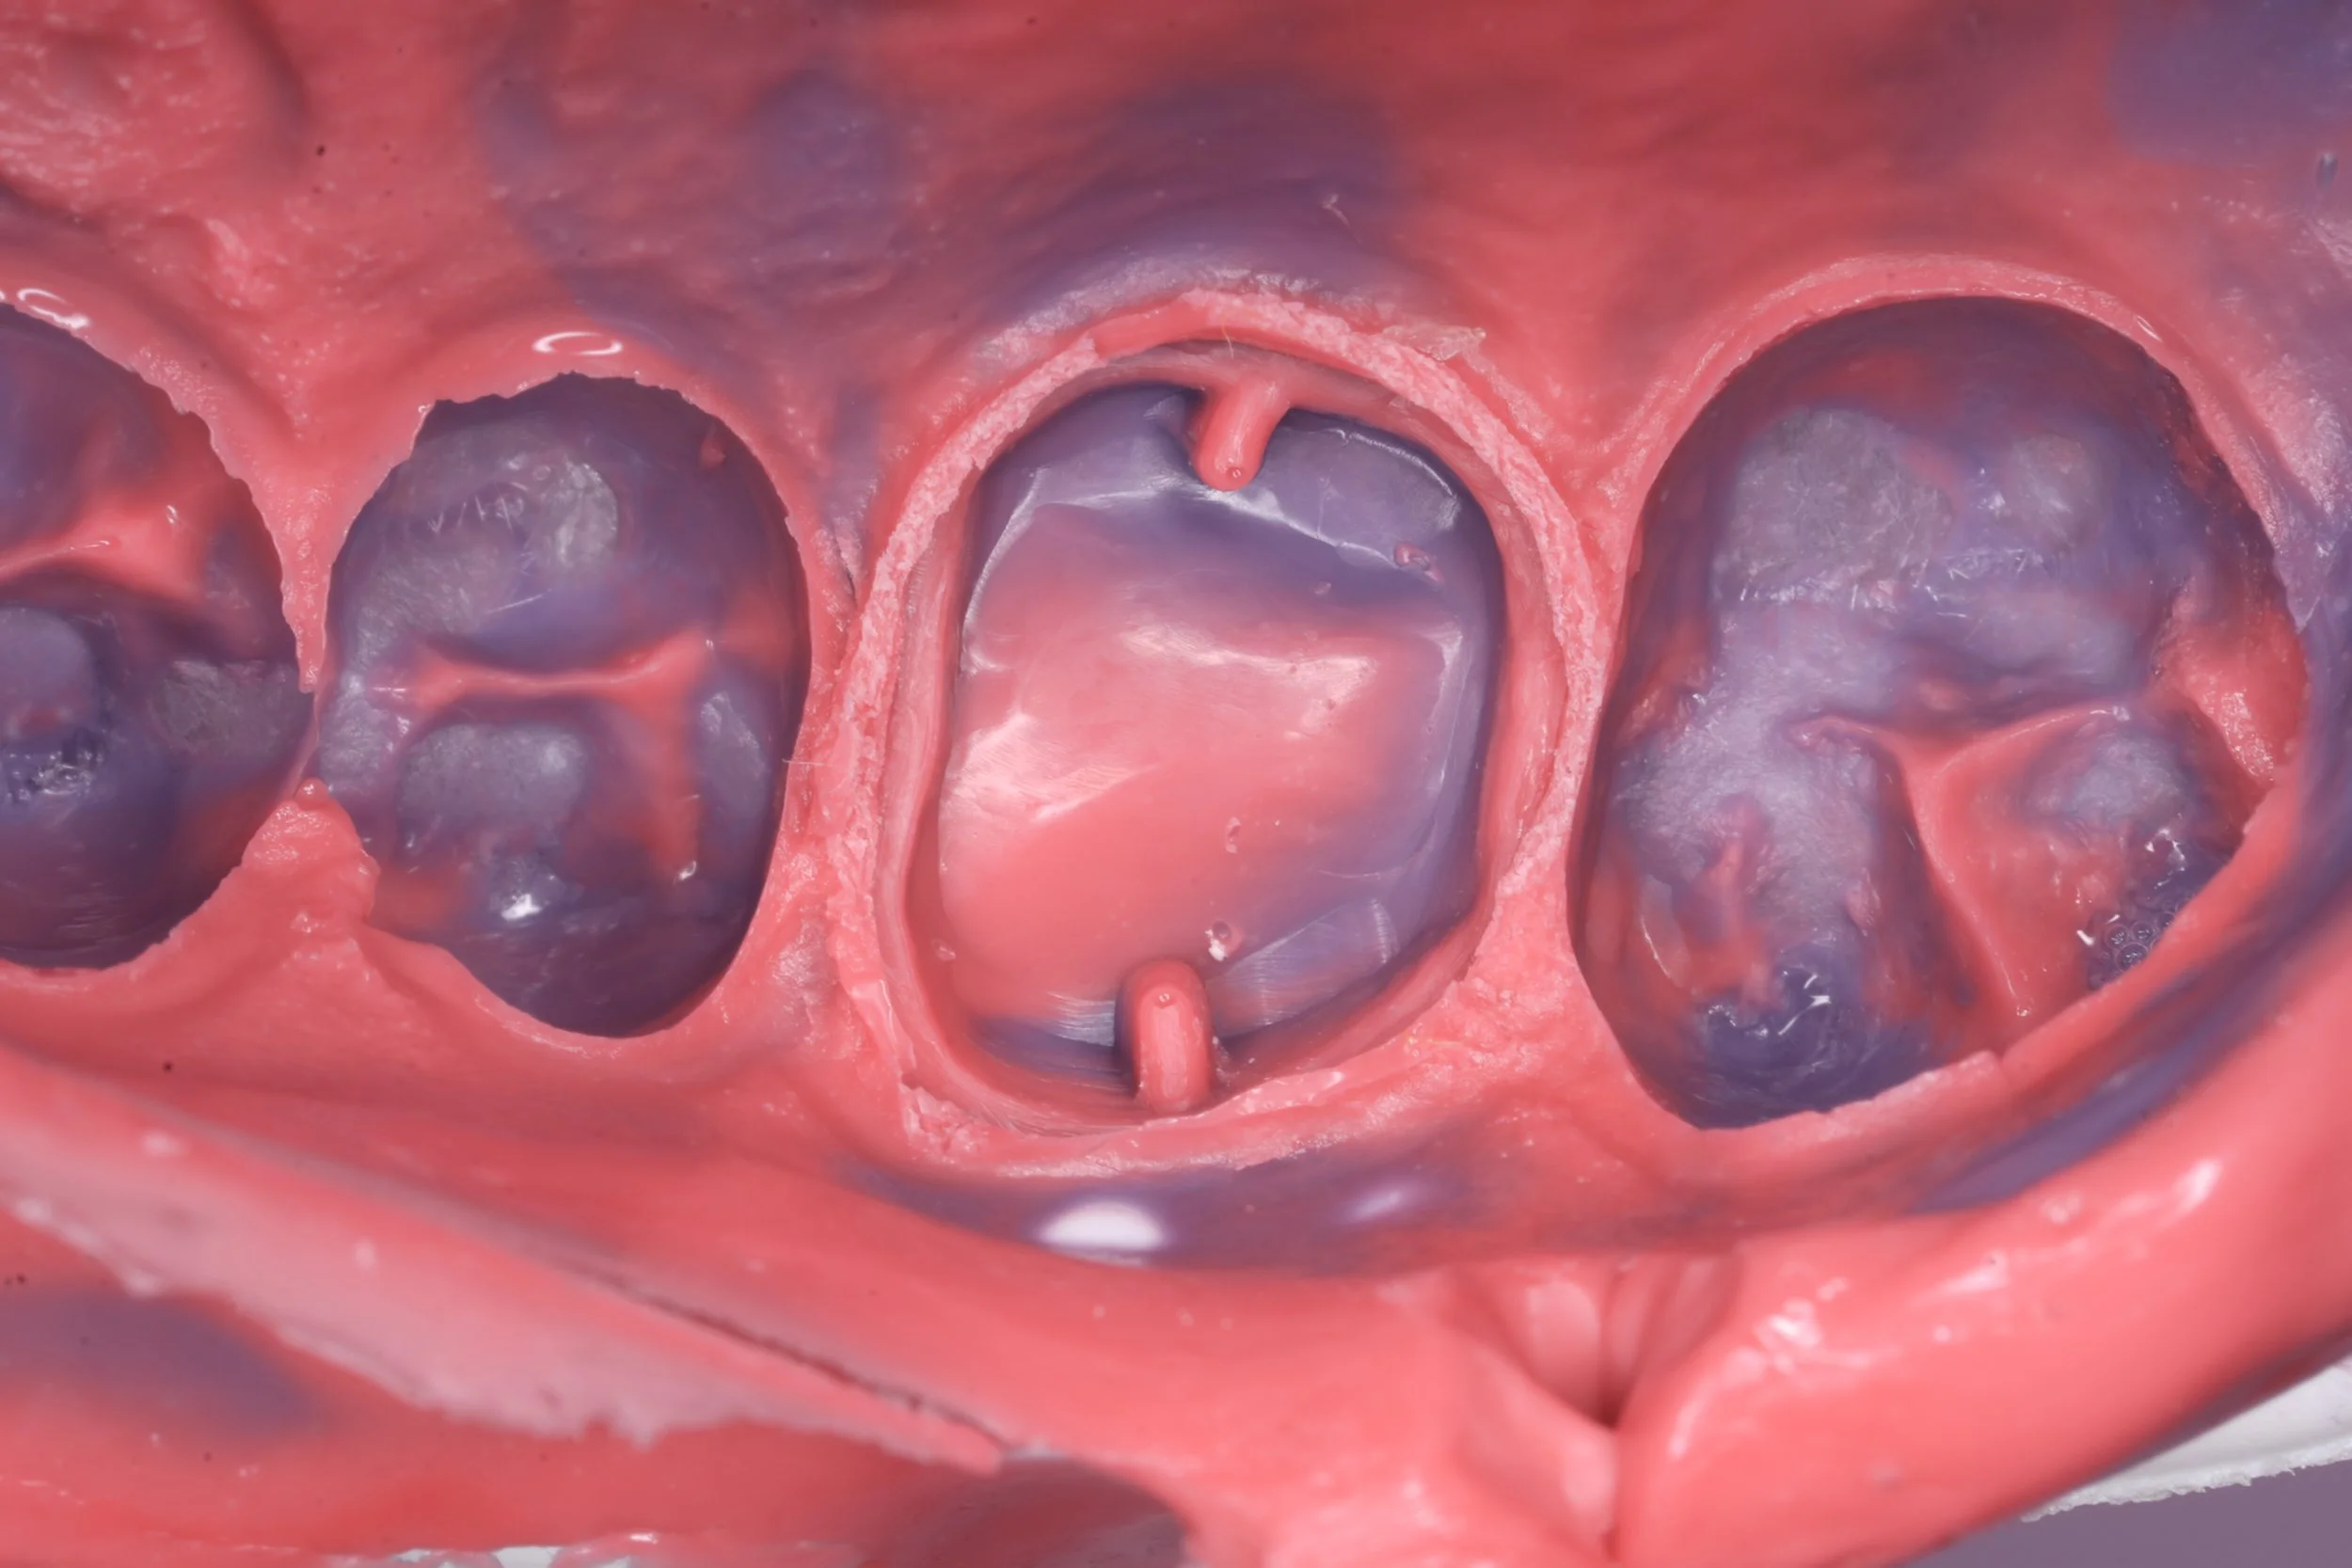
I have become more of a fan of triple trays. I am mindful of the tray flexibility and possible distortion. I have found the triple tray records the occlusal registration much better than having separate upper/lower impressions which would be prone to small occlusal bubbles, interfering with articulation of the models. Heavy body PVS can be used with triple tray to improve rigidity. I first apply a small layer to light body PVS to be prep and air spray it to adapt the PVS material into the finer details of the preparation.
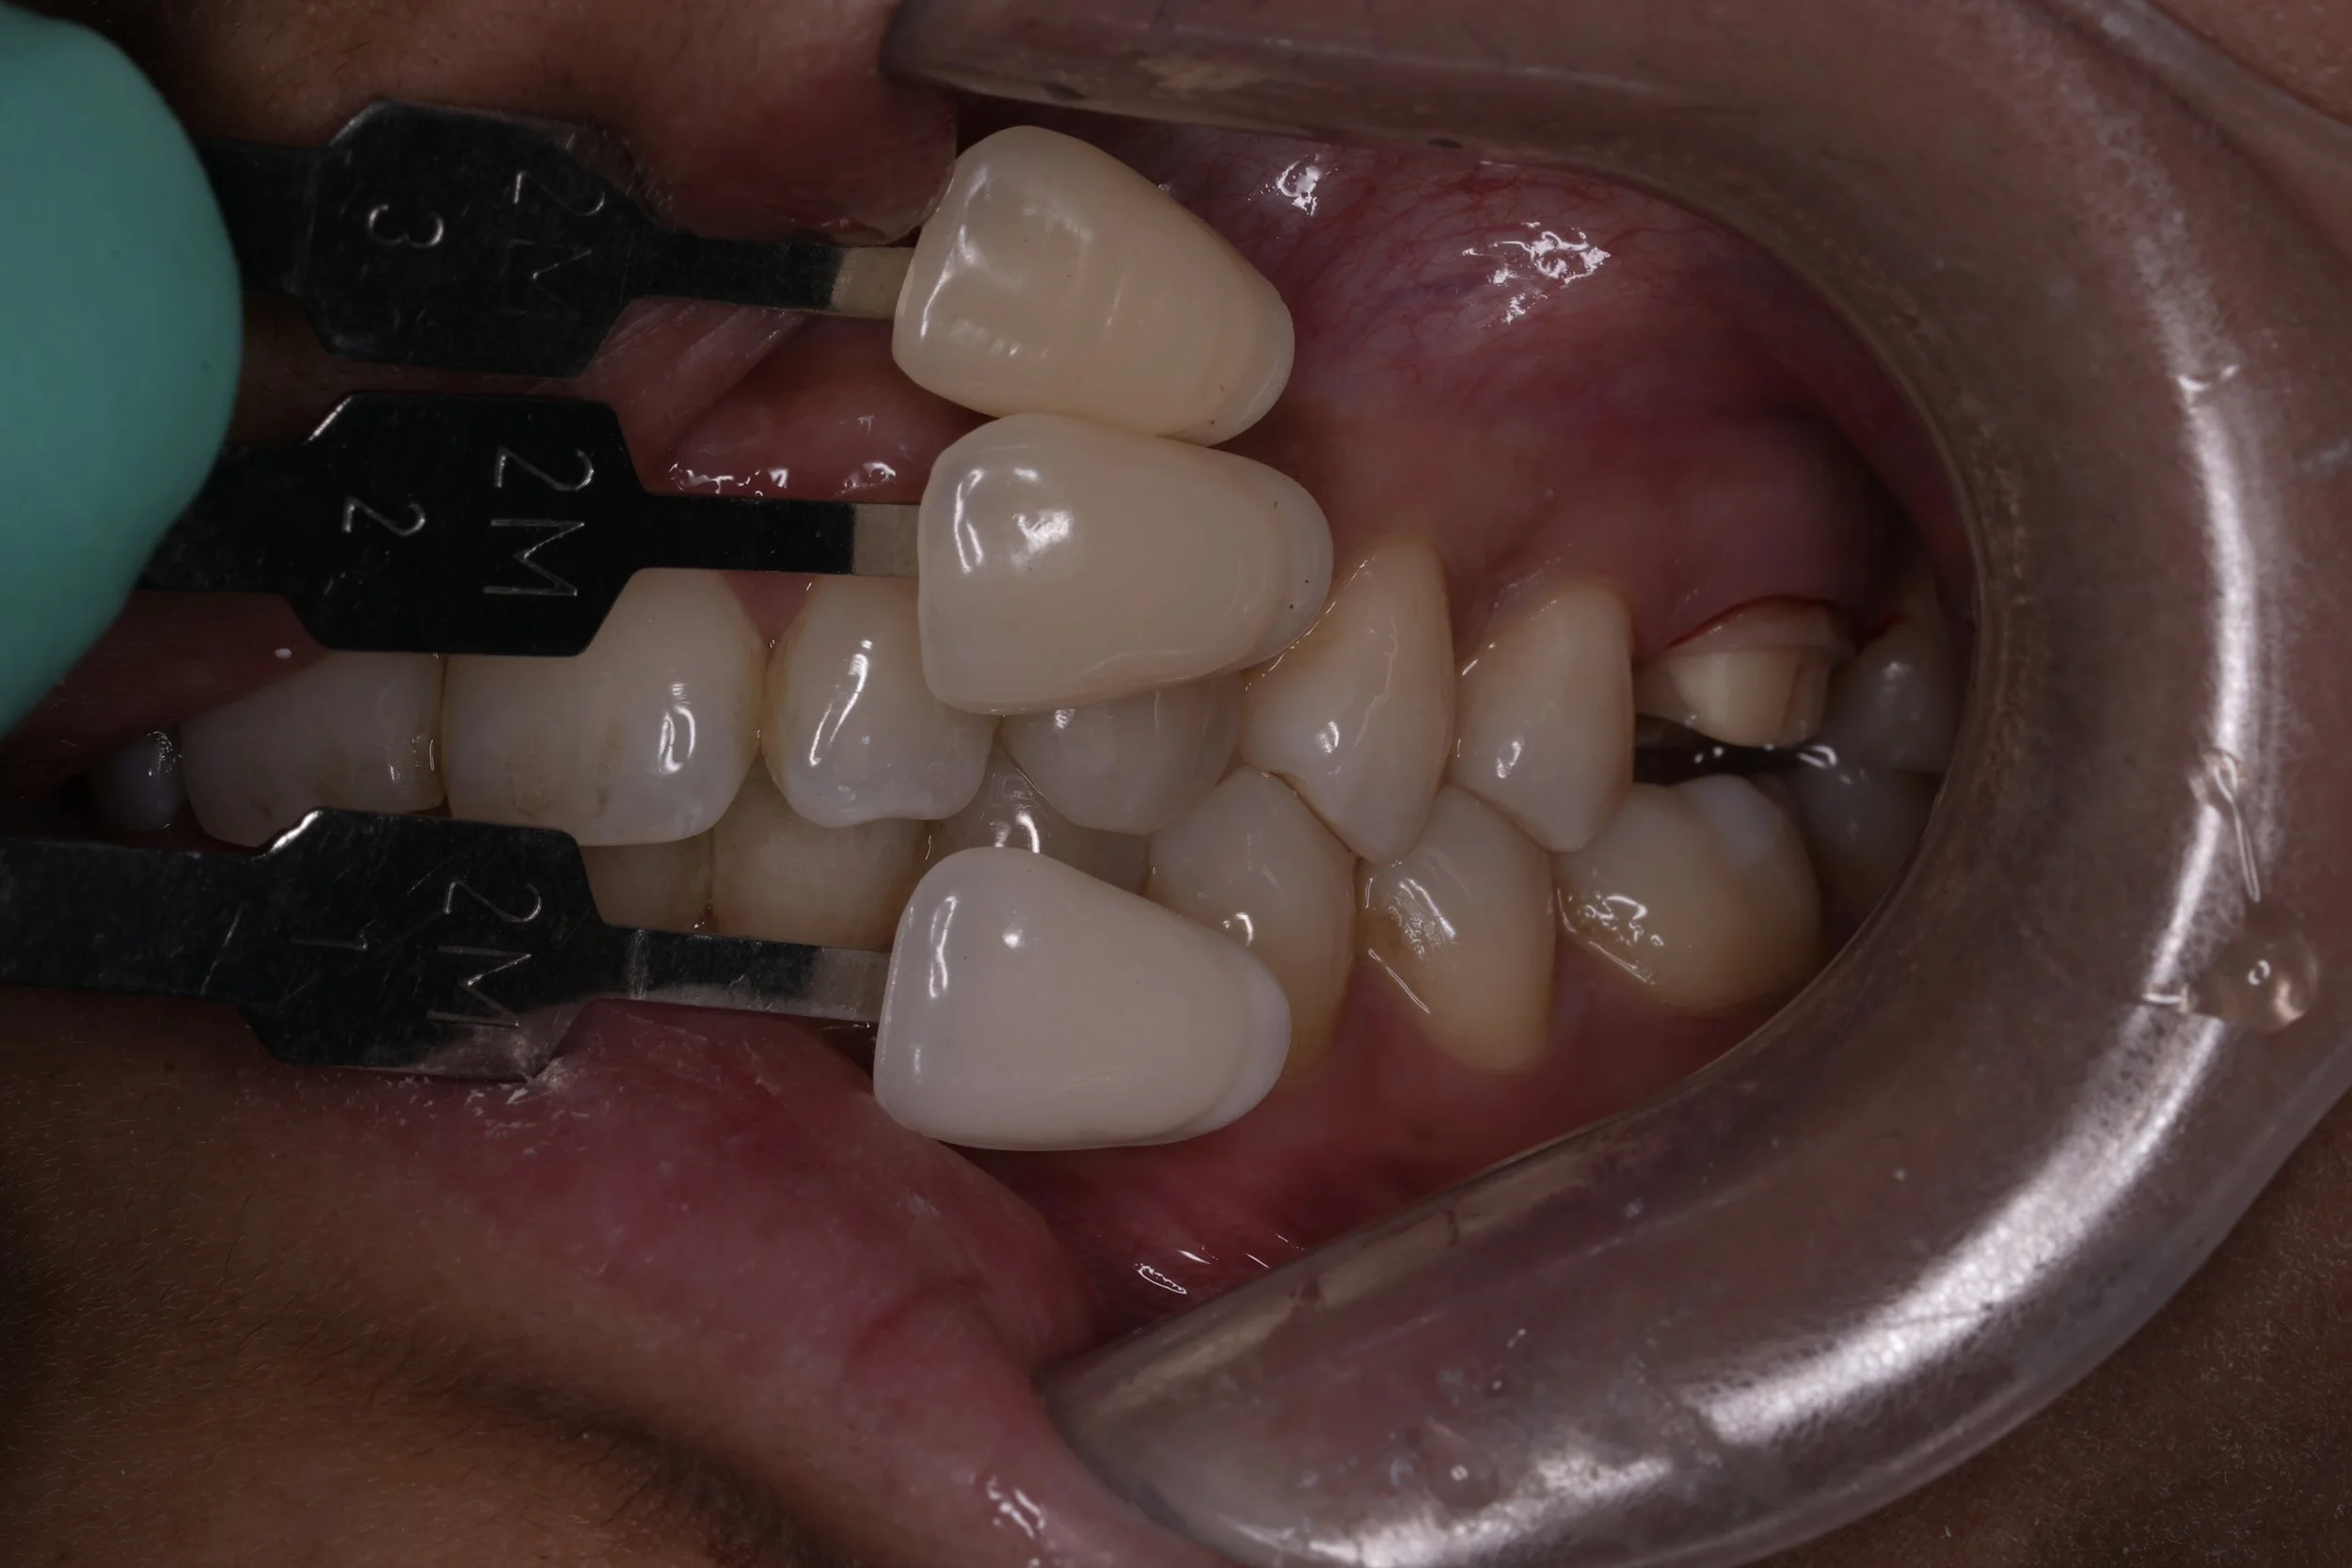
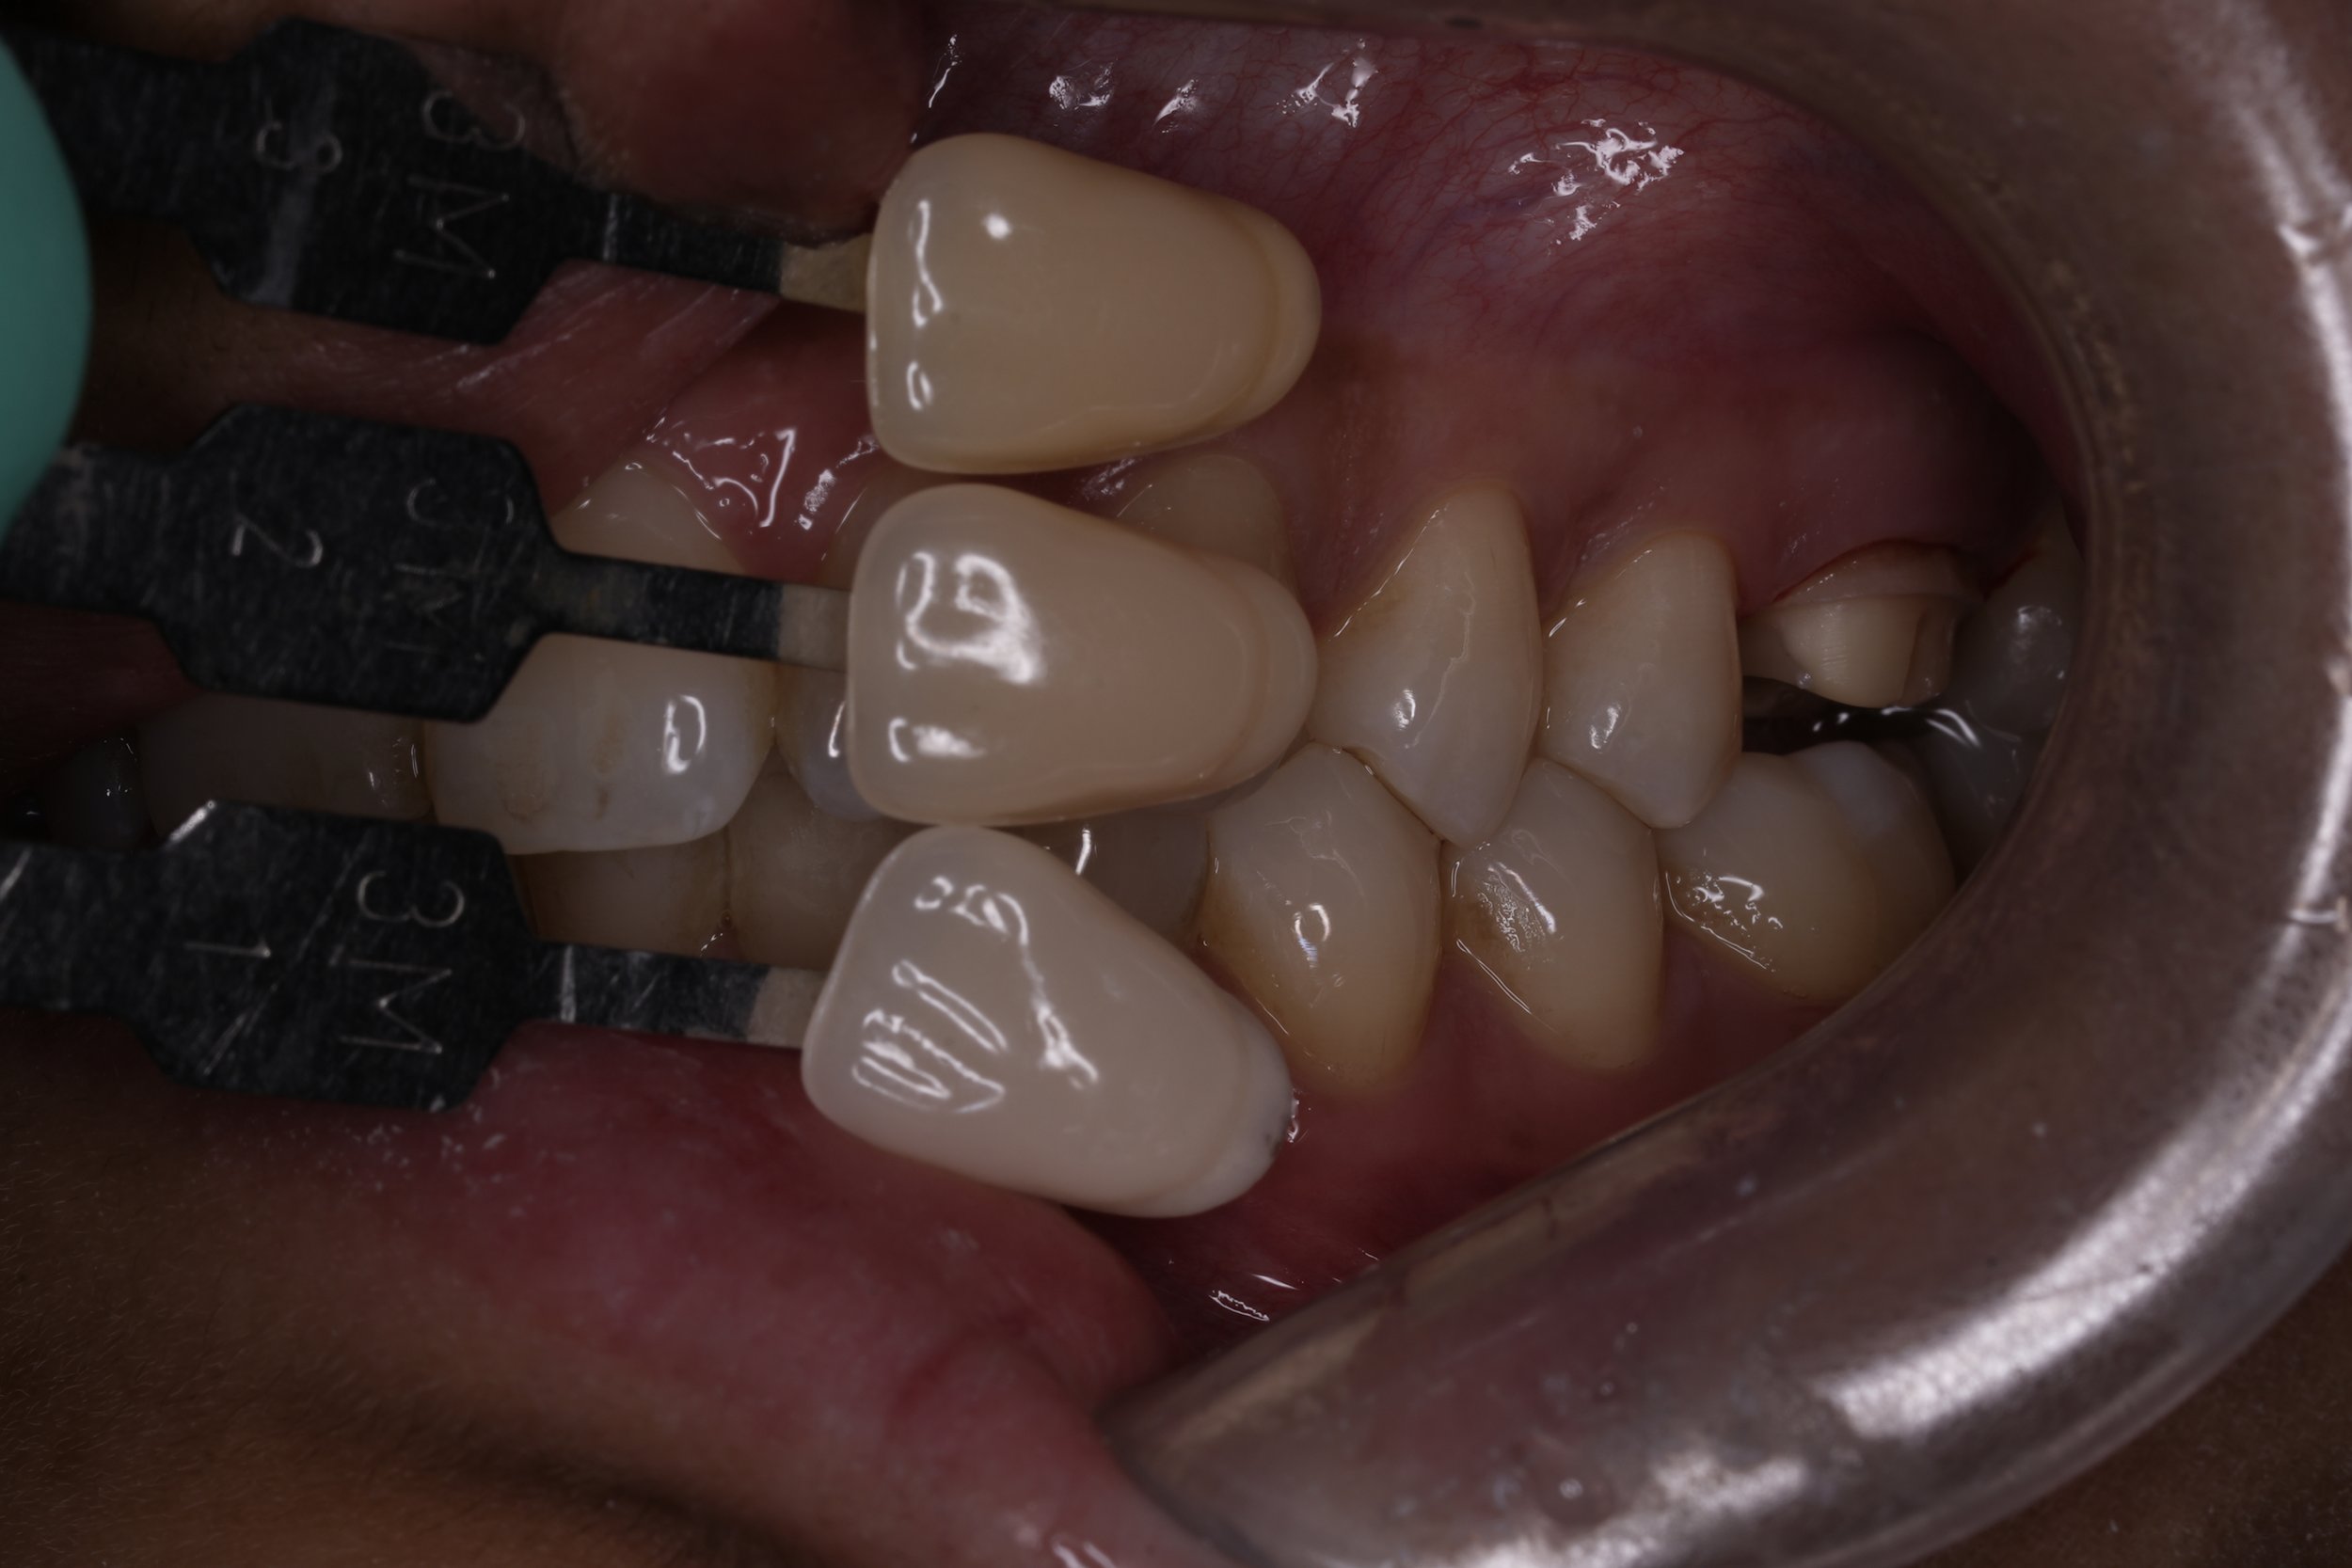
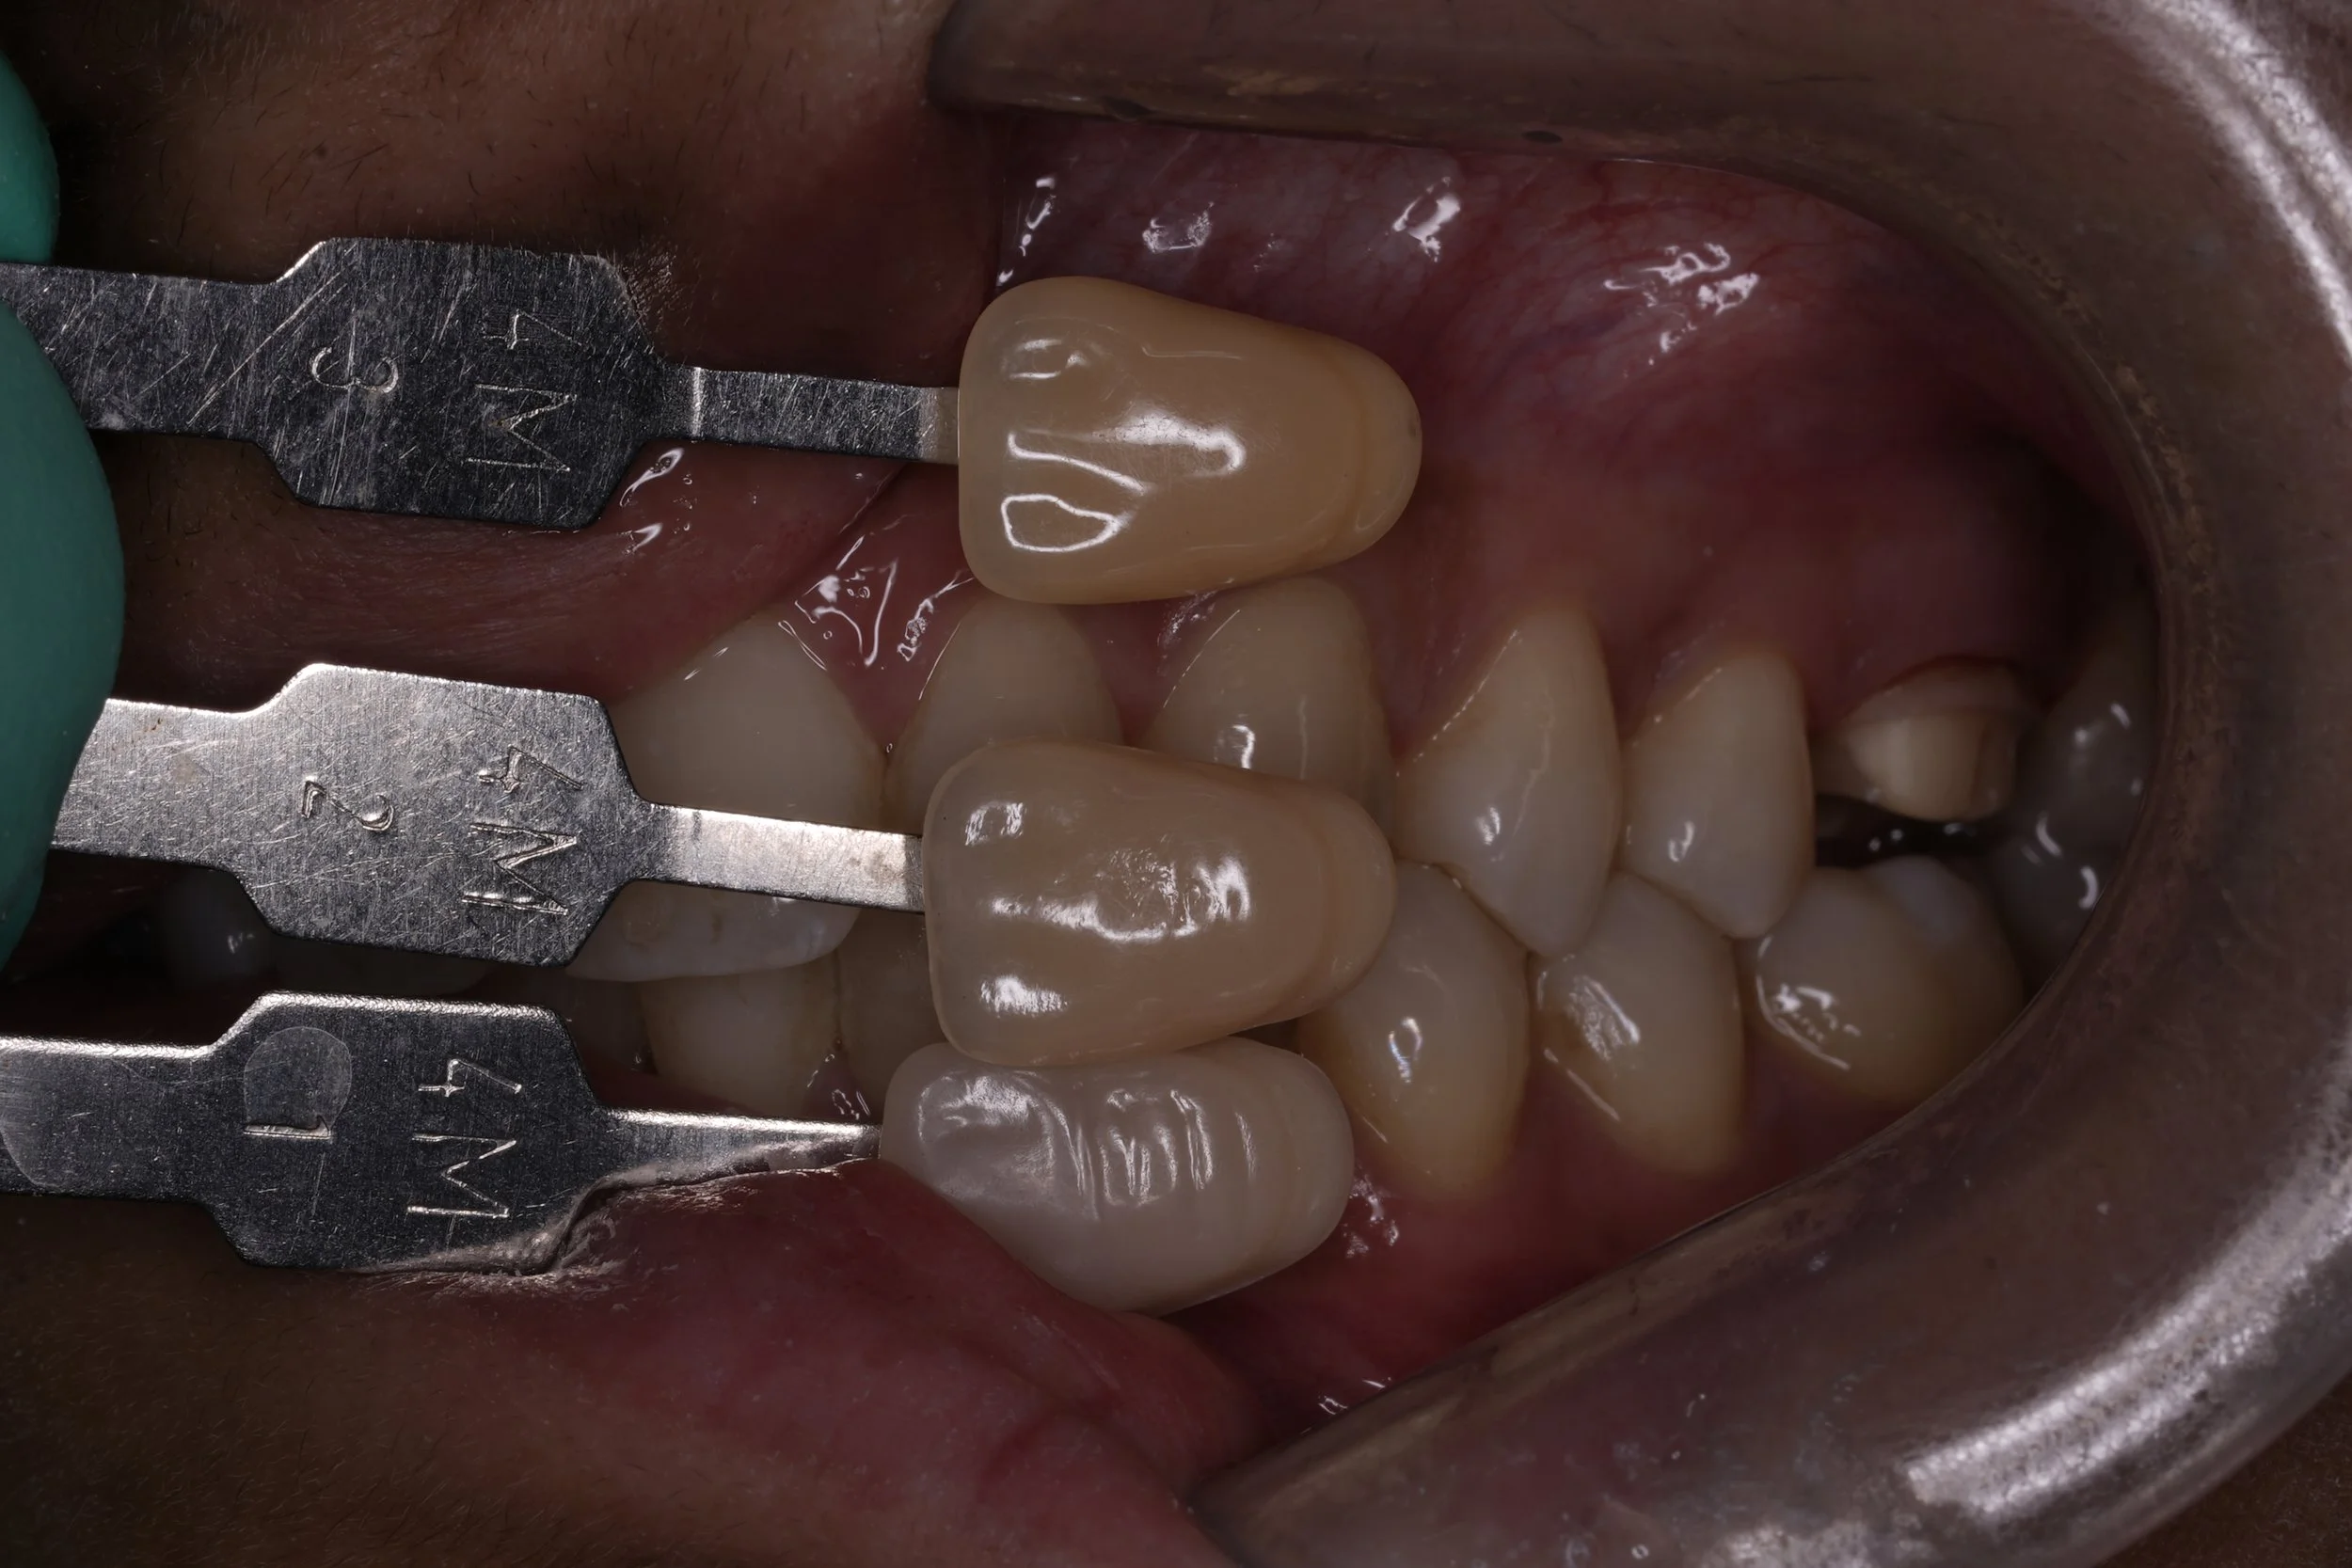
A series of shade match photos using the vita 3D master shade guide are taken like this. In more aesthetically critical cases, I would take a stump shade as well.
A basic provisional is made with protemp and cemented with temp bond. I find the prepared retention grooves tends to help give enough provisional cementation for 3-4 weeks. I take a full arch alginate at the start of the appointment and use this as the putty key. I use alginate instead of PVS putty to save time as it sets faster. Moreover, the full arch alginate has more occlusal reference points when seated over the teeth as opposed to a short PVS putty key. The alginate will not sink into the occlusal of the prep as much. I have found a bit of extra time spent on the provisional and help to significantly improve soft tissue health and lead to a very easy cementation visit.
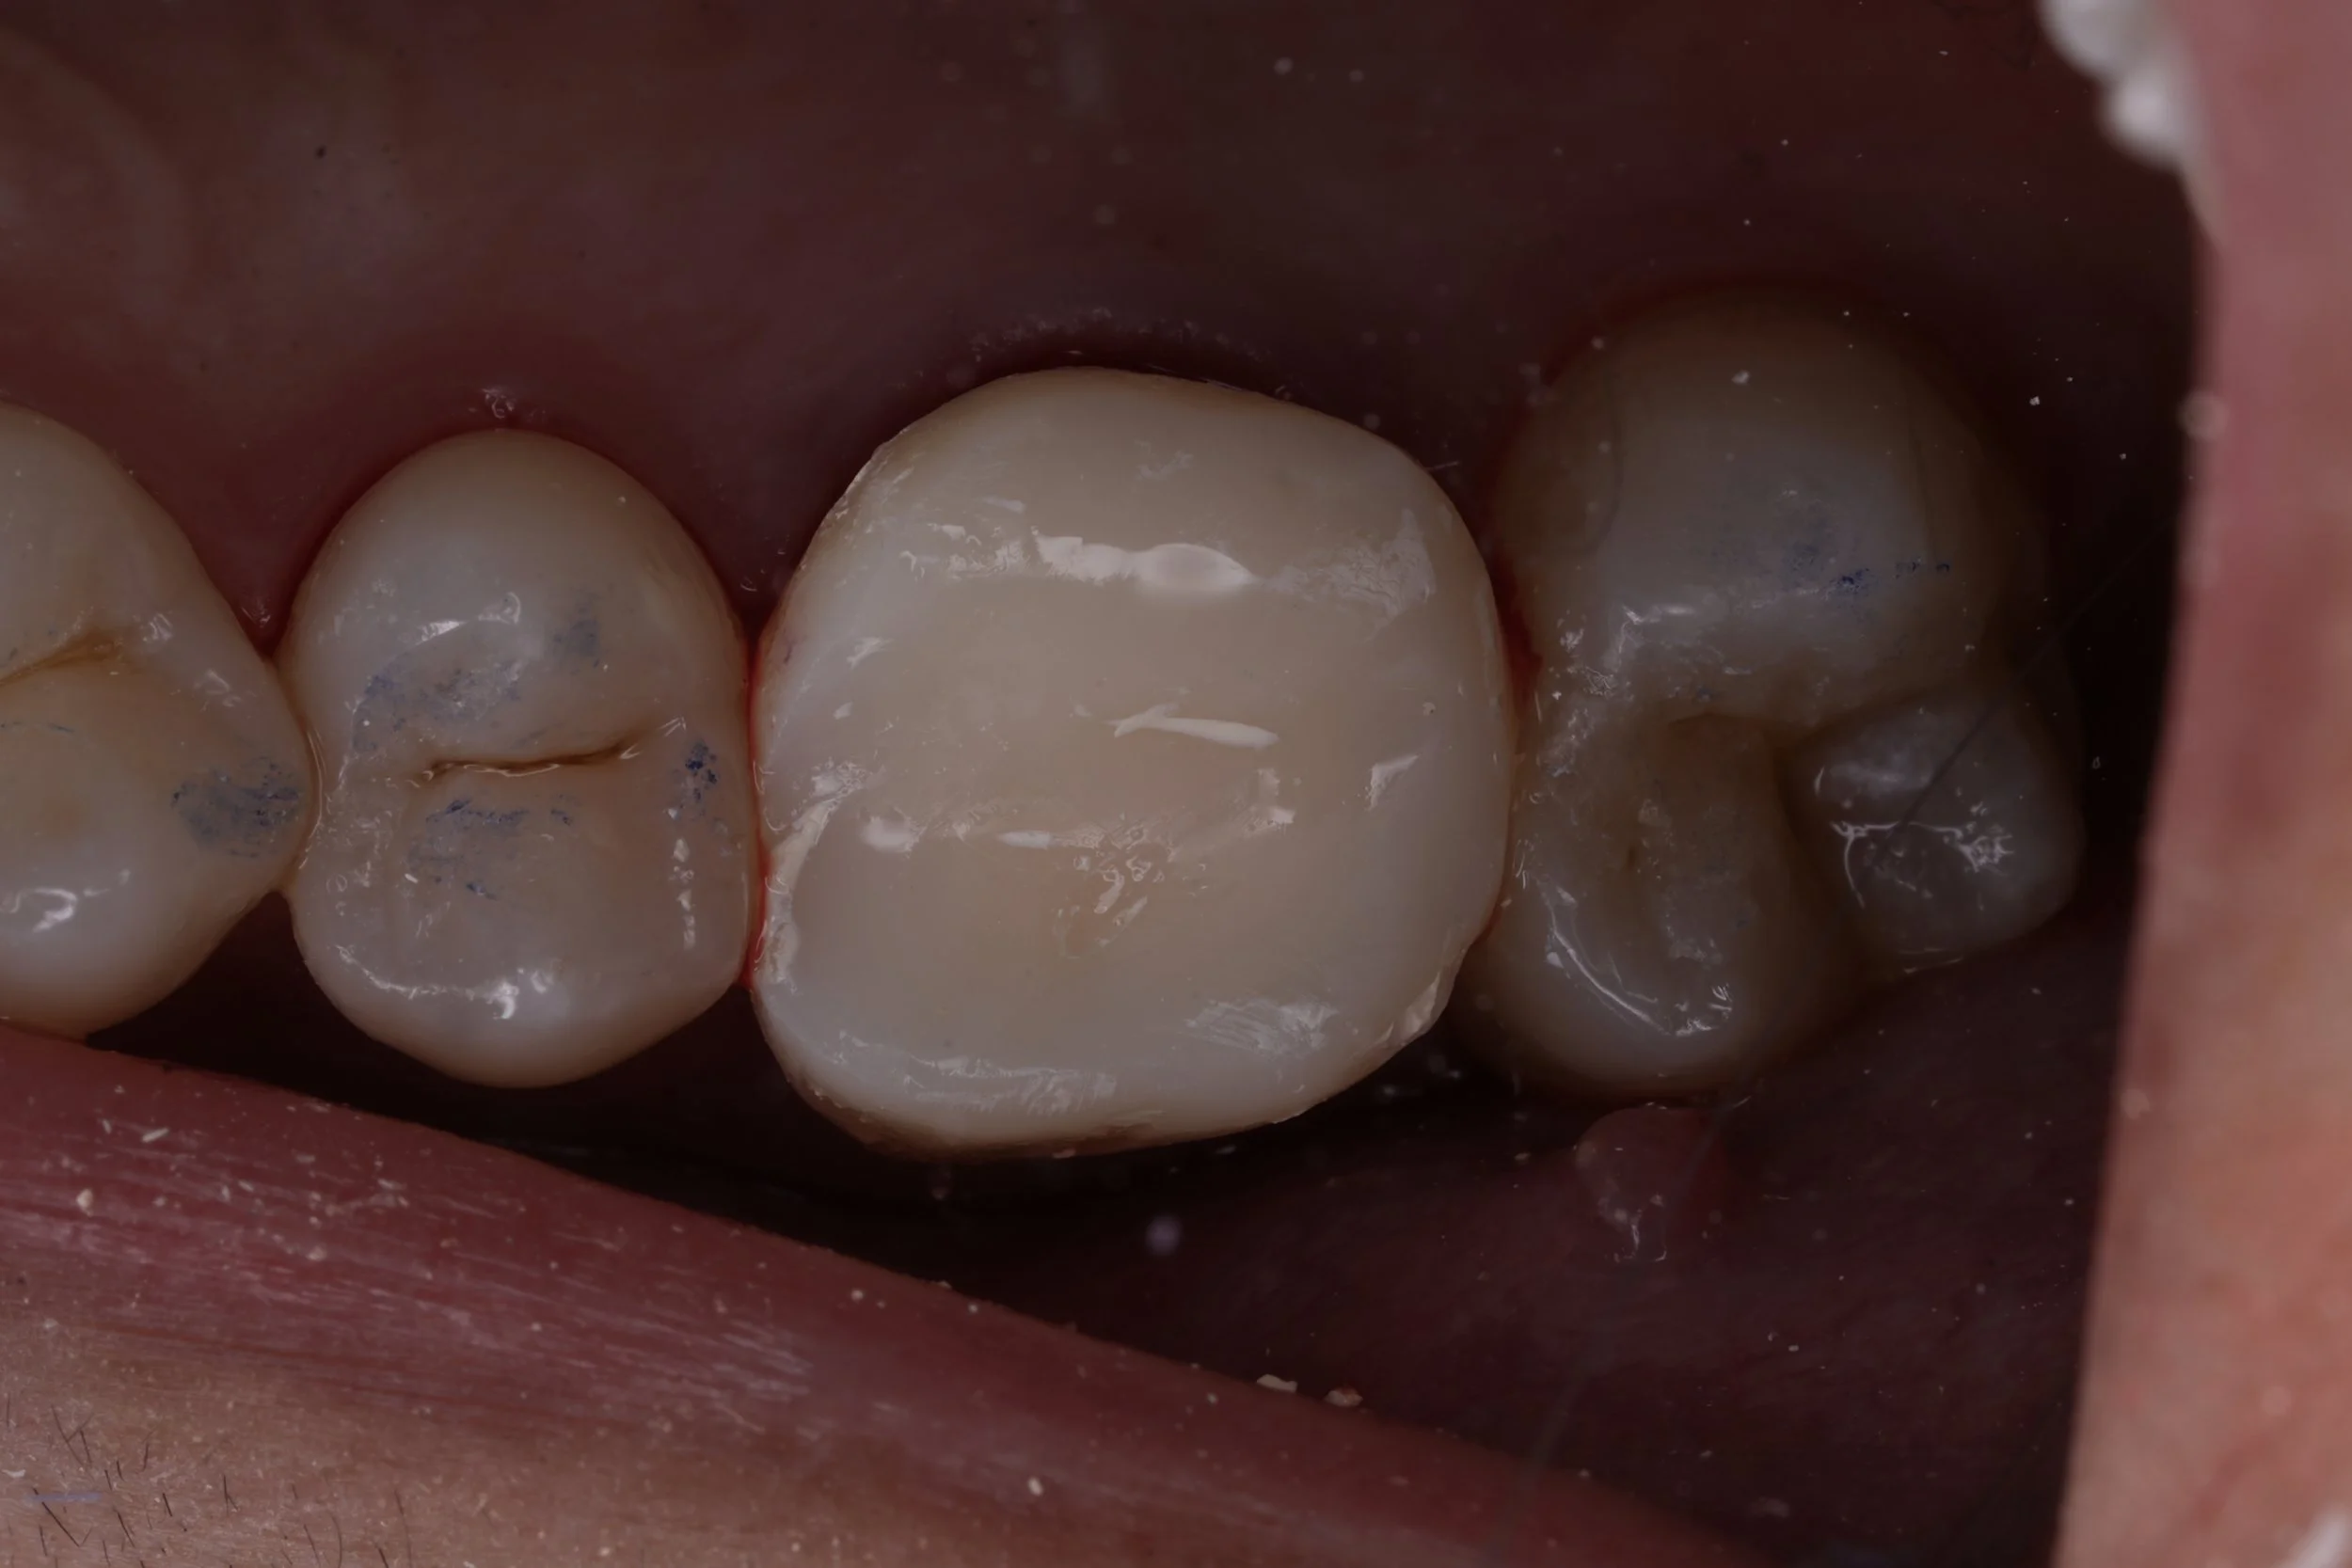
Provisional protemp crown 26